基于python實(shí)現(xiàn)圖片轉(zhuǎn)字符畫代碼實(shí)例
直接上代碼圖片就使用我家爽妹子的吧

如果沒有安裝pil模塊的話先cmd安裝下
輸入:pip install pillow
# -*- coding: utf-8 -*-from PIL import ImagecodeLib = ’’’@B%8&WM#*oahkbdpqwmZO0QLCJUYXzcvunxrjft/|()1{}[]?-_+~<>i!lI;:,'^`’. ’’’#生成字符畫所需的字符集count = len(codeLib)def transform1(image_file): image_file = image_file.convert('L')#轉(zhuǎn)換為黑白圖片,參數(shù)'L'表示黑白模式 codePic = ’’ for h in range(0,image_file.size[1]): #size屬性表示圖片的分辨率,’0’為橫向大小,’1’為縱向 for w in range(0,image_file.size[0]): gray = image_file.getpixel((w,h)) #返回指定位置的像素,如果所打開的圖像是多層次的圖片,那這個(gè)方法就返回一個(gè)元組 codePic = codePic + codeLib[int(((count-1)*gray)/256)]#建立灰度與字符集的映射 codePic = codePic+’rn’ return codePicdef transform2(image_file): codePic = ’’ for h in range(0,image_file.size[1]): for w in range(0,image_file.size[0]): g,r,b = image_file.getpixel((w,h)) gray = int(r* 0.299+g* 0.587+b* 0.114) codePic = codePic + codeLib[int(((count-1)*gray)/256)] codePic = codePic+’rn’ return codePicfp = open(r’C:路徑3.jpg’,’rb’)image_file = Image.open(fp)image_file=image_file.resize((int(image_file.size[0]*0.2), int(image_file.size[1]*0.1)))#調(diào)整圖片大小print (u’Info:’,image_file.size[0],’ ’,image_file.size[1],’ ’,count)tmp = open(’tmp.txt’,’w’)tmp.write(transform1(image_file))tmp.close()a,b,c=1,2,3print(a,b,c)
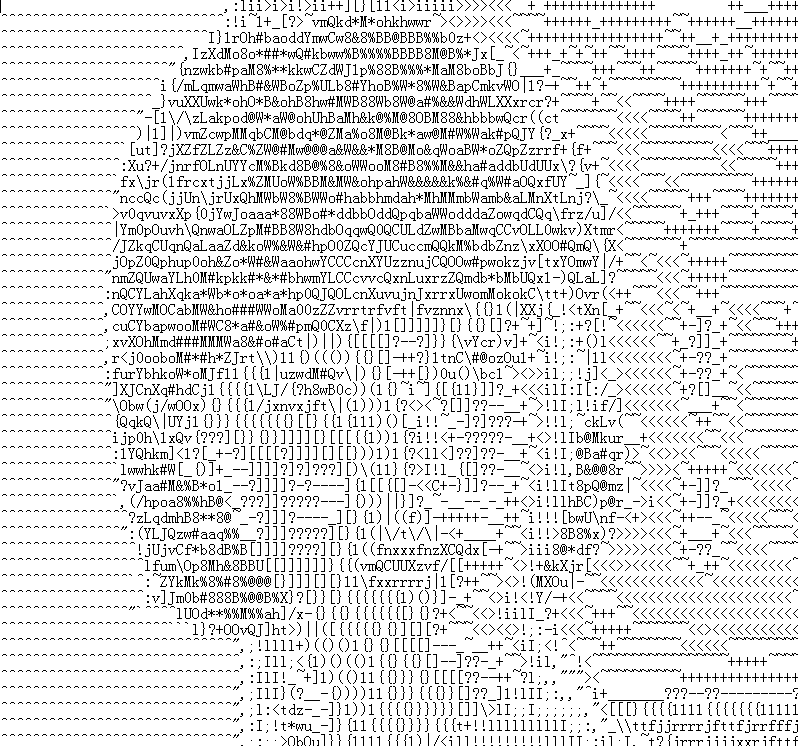
結(jié)果不知還能否看出來
以上就是本文的全部內(nèi)容,希望對(duì)大家的學(xué)習(xí)有所幫助,也希望大家多多支持好吧啦網(wǎng)。
相關(guān)文章:
1. IntelliJ IDEA設(shè)置條件斷點(diǎn)的方法步驟2. IntelliJ IDEA導(dǎo)入jar包的方法3. SSM框架JSP使用Layui實(shí)現(xiàn)layer彈出層效果4. 刪除docker里建立容器的操作方法5. IntelliJ IDEA導(dǎo)出項(xiàng)目的方法6. 基于android studio的layout的xml文件的創(chuàng)建方式7. Python產(chǎn)生batch數(shù)據(jù)的操作8. Java導(dǎo)出Execl疑難點(diǎn)處理的實(shí)現(xiàn)9. 淺談定義一個(gè)PHP函數(shù)10. IDEA創(chuàng)建SpringBoot的maven項(xiàng)目的方法步驟

 網(wǎng)公網(wǎng)安備