Django mysqlclient安裝和使用詳解
一、安裝mysqlclient
網上看到很過通過命令:pip install mysqlclient 進行安裝的教程,但是我卻始終安裝失敗,遇到的錯誤千奇百怪,后來通過自己下載mysqlclient客戶端終于安裝成功;
首先打開網址:https://www.lfd.uci.edu/~gohlke/pythonlibs/并找到下面圖中的內容部分:
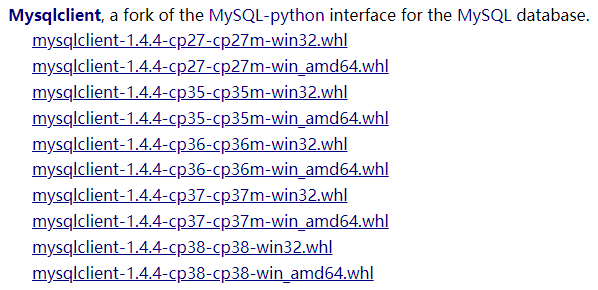
根據自己的需要,我選擇的是最下邊的cp38(目測cp38應該是C++版本,下載下來的文件通過pip install 進行安裝的時候會進行c++編譯,如果你的電腦(我是Windows)上沒有安裝VC++,那么找個新版本的安裝一下即可:https://support.microsoft.com/zh-cn/help/2977003/the-latest-supported-visual-c-downloads)記住如果沒有C++,就先安裝C++這個;
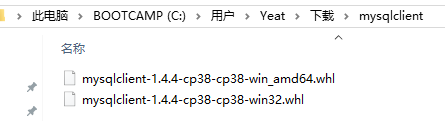
下載好mysqlclientt之后如下(只要下載1個,我系統是64位,所以先下載的64位的,結果用不了,所以又下載了32位的才成功,所以建議先下載32位的試試):
打開控制臺(開始->運行->cmd):
第一步:cd 到下載的mysqlclient文件所在的目錄:cdC:UsersYeatDownloadsmysqlclient
第二步:執行安裝命令:pip installmysqlclient-1.4.4-cp38-cp38-win32.whl
如果成功的話會看到:
C:UsersYeatDownloads>pip install mysqlclient-1.4.4-cp38-cp38-win32.whlProcessing c:usersyeatdownloadsmysqlclient-1.4.4-cp38-cp38-win32.whlInstalling collected packages: mysqlclientSuccessfully installed mysqlclient-1.4.4
C:UsersYeatDownloads>當然如果失敗的話,那很可能看到類似下圖的畫面:
C:UsersYeat>pip install mysqlclient‑1.3.13‑cp36‑cp36m‑win_amd64.whlWARNING: Requirement ’mysqlclient‑1.3.13‑cp36‑cp36m‑win_amd64.whl’ looks like a filename, but the file does not existERROR: mysqlclient‑1.3.13‑cp36‑cp36m‑win_amd64.whl is not a valid wheel filename.
C:UsersYeat>pip install MySQL_python‑1.2.5‑cp27‑none‑win_amd64.whlWARNING: Requirement ’MySQL_python‑1.2.5‑cp27‑none‑win_amd64.whl’ looks like a filename, but the file does not existERROR: MySQL_python‑1.2.5‑cp27‑none‑win_amd64.whl is not a valid wheel filename.
C:UsersYeat>pip install MySQL_python‑1.2.5‑cp27‑none‑win_amd64ERROR: Invalid requirement: ’MySQL_python‑1.2.5‑cp27‑none‑win_amd64’
C:UsersYeat>cd C:UsersYeatDownloads
C:UsersYeatDownloads>pip install MySQL_python-1.2.5-cp27-none-win_amd64.whlERROR: MySQL_python-1.2.5-cp27-none-win_amd64.whl is not a supported wheel on this platform.
C:UsersYeatDownloads>pip install mysqlclient-1.4.4-cp38-cp38-win_amd64.whlERROR: mysqlclient-1.4.4-cp38-cp38-win_amd64.whl is not a supported wheel on this platform.
失敗,那就換下載的mysqlclient版本,只能提供這個辦法了!!!!
二、在Django框架里使用mysql
1.進入項目工程目錄執行命令:django-admin startapp TcesApp,我的完整命令是:C:UsersYeatPycharmProjectsuntitled>django-admin startapp TcesApp,前面的部分是我的工程目錄路徑;
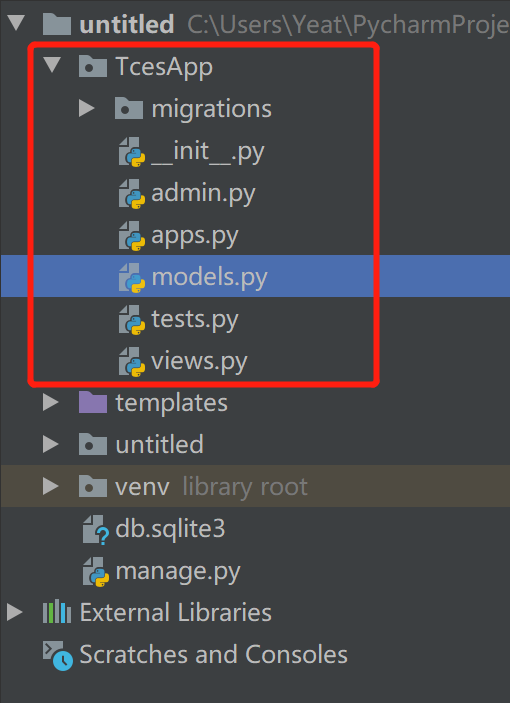
2.命令執行完畢后工程里會增加TcesApp目錄如圖:
3.進入models.py中創建與你的數據庫表相對應的對象model,我的內容如下:
from django.db import modelsclass e_exams(models.Model): ID = models.CharField(max_length=50), ExamName = models.CharField(max_length=50) ExamCode = models.CharField(max_length=50) SceneID = models.CharField(max_length=50) Creater = models.CharField(max_length=50) CreateTime = models.DateTimeField() State = models.CharField(max_length=50) Field_Char1 = models.CharField(max_length=50) Field_Char2 = models.CharField(max_length=50) Field_Char3 = models.CharField(max_length=50) class Meta: db_table = ’e_exams’ #數據表名稱
我的表結構 e_exams:
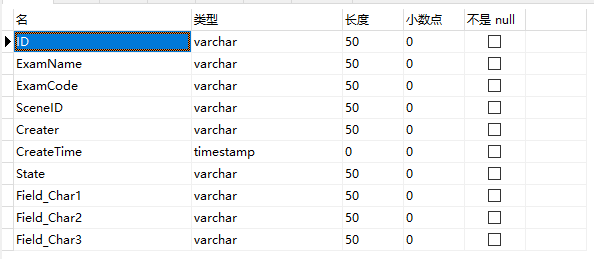
在models.py中可以創建過個表的model。
4.在admin.py中注冊model:
from django.contrib import adminfrom . import models# Register your models here.admin.site.register(models.e_exams)
5.在setting.py中添加app名稱(上邊的名稱 django-admin startapp TcesApp 的名稱):

6.還是在settings.py中修改DATABASES內容如下:
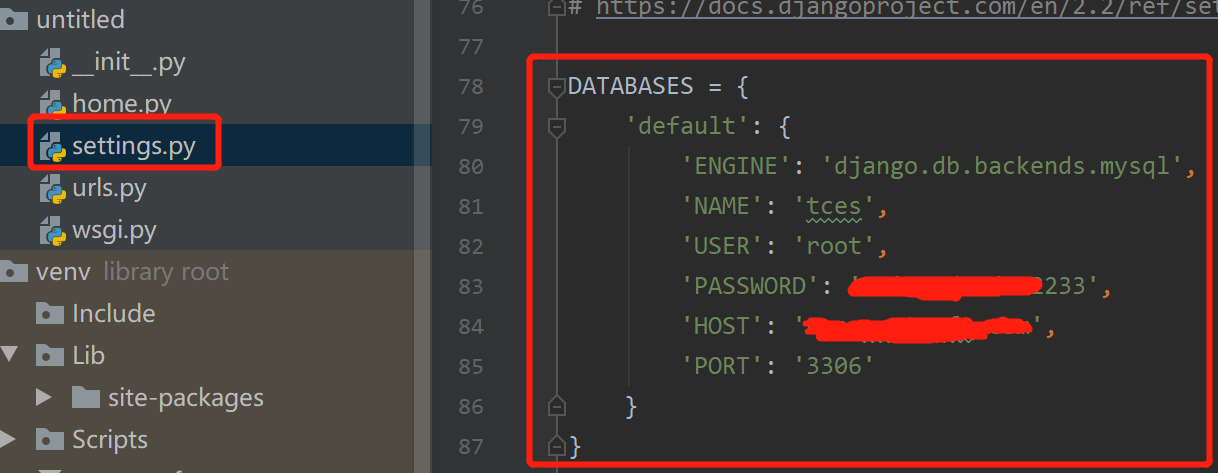
完整配置:
DATABASES = { ’default’: { ’ENGINE’: ’django.db.backends.mysql’, ’NAME’: ’tces’, ’USER’: ’root’, ’PASSWORD’: ’Unity3du#d112233’, ’HOST’: ’nas.yeatsoft.com’, ’PORT’: ’3306’, ’OPTIONS’: { 'init_command': 'SET sql_mode=’STRICT_TRANS_TABLES’', } }}
其中NAME是你的數據庫名稱,HOST是數據庫地址,其它的大家都知道。
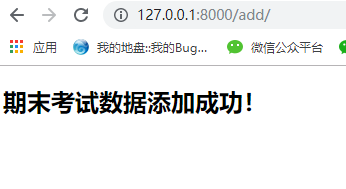
7.接下來我們到views.py(或者自己創建的py文件)中編寫代碼主要看 addExam 這個方法:
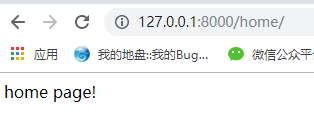
from django.http import HttpResponsefrom django.shortcuts import renderfrom TcesApp.models import e_examsdef hello(request): return HttpResponse(’home page!’)def helloworld(request): context = {} context[’value’] = ’hello world!’ return render(request, ’helloworld.html’, context)def addExam(request): exam = e_exams() exam.ID = ’100001’ exam.SceneID = ’1001’, exam.ExamName = ’期末考試’ exam.save() context = {} context[’value’] = exam.ExamName + ’數據添加成功!’ return render(request,’helloworld.html’,context)
其中helloworld.html是放在templates中的前端頁面:
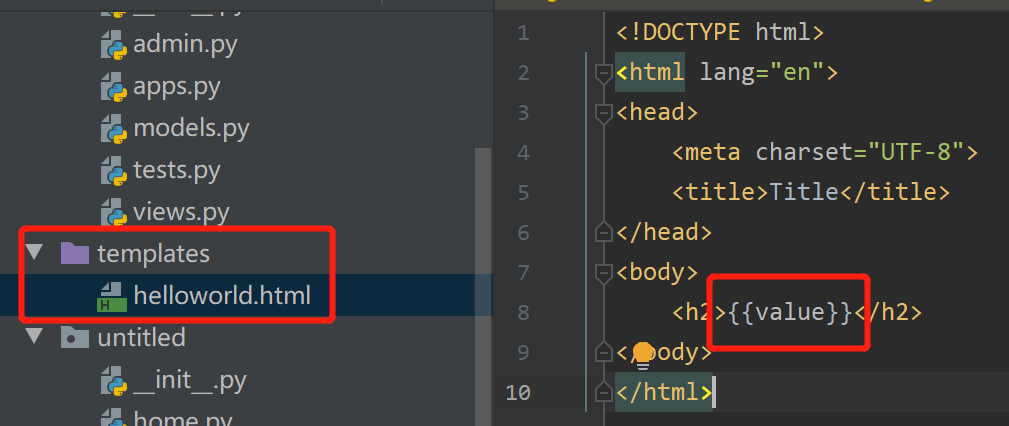
context[’value’]就是html頁面中的{{value}}
8.到urls.py中添加路徑完整代碼如下:
from django.contrib import adminfrom django.urls import pathfrom . import homeurlpatterns = [ path(’admin/’, admin.site.urls), path(’home/’, home.hello), path(’helloworld/’, home.helloworld), path(’add/’,home.addExam)]
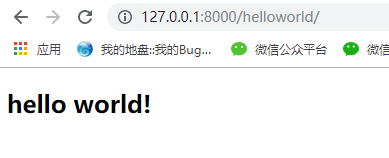
三、運行效果如下:
到此這篇關于Django mysqlclient安裝和使用詳解的文章就介紹到這了,更多相關Django mysqlclient安裝使用內容請搜索好吧啦網以前的文章或繼續瀏覽下面的相關文章希望大家以后多多支持好吧啦網!
相關文章:

 網公網安備
網公網安備