docker安裝Elasticsearch7.6集群并設(shè)置密碼
Elasticsearch從6.8開(kāi)始, 允許免費(fèi)用戶(hù)使用X-Pack的安全功能, 以前安裝es都是裸奔。接下來(lái)記錄配置安全認(rèn)證的方法。
為了簡(jiǎn)化物理安裝過(guò)程,我們將使用docker安裝我們的服務(wù)。
一些基礎(chǔ)配置
es需要修改linux的一些參數(shù)。
設(shè)置vm.max_map_count=262144
sudo vim /etc/sysctl.confvm.max_map_count=262144
不重啟, 直接生效當(dāng)前的命令
sysctl -w vm.max_map_count=262144
es的data和logs目錄需要給1000的用戶(hù)授權(quán), 我們假設(shè)安裝3個(gè)實(shí)力的es集群,先創(chuàng)建對(duì)應(yīng)的數(shù)據(jù)存儲(chǔ)文件
mkdir -p es01/datamkdir -p es01/logsmkdir -p es02/datamkdir -p es02/logsmkdir -p es03/datamkdir -p es03/logs## es的用戶(hù)id為1000,這里暫且授權(quán)給所有人好了sudo chmod 777 es* -R
關(guān)于版本和docker鏡像
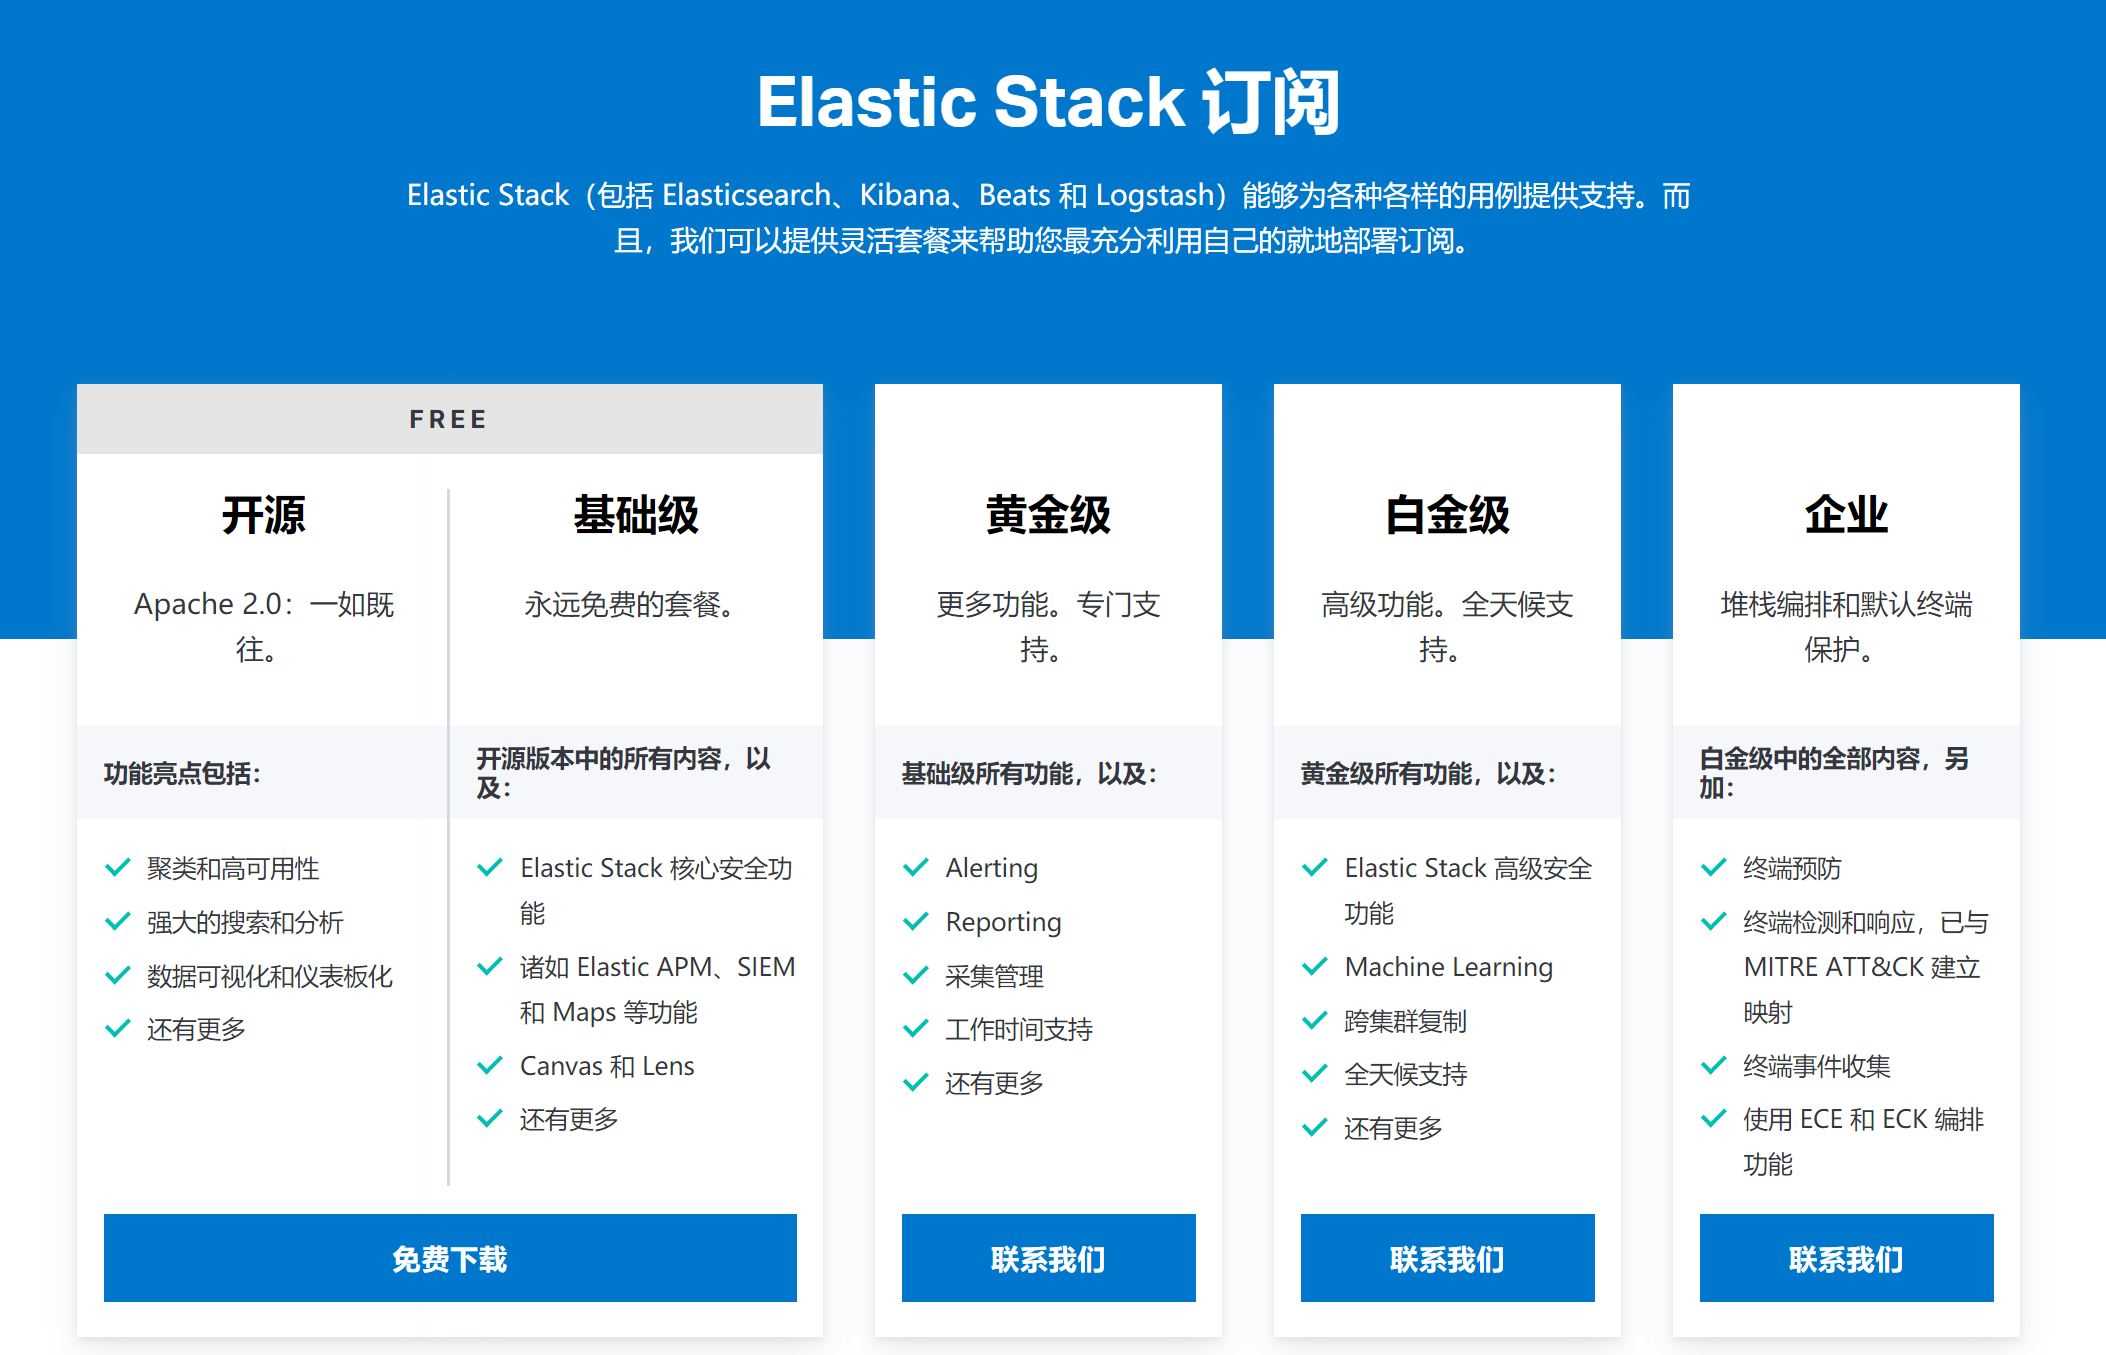
Elasticsearch分幾種licenses,其中Open Source和Basic是免費(fèi)的, 而在6.8之后安全功能才開(kāi)始集成在es的Basic授權(quán)上。
Basic對(duì)應(yīng)docker鏡像為
docker pull docker.elastic.co/elasticsearch/elasticsearch:7.6.2
同時(shí)dockerhub同步為elasticsearch. 我們直接拉取elasticsearch:7.6.2就好。
開(kāi)始
安裝文件均放在GitHub: https://github.com/Ryan-Miao/docker-china-source/tree/master/docker-elasticsearch
首先,創(chuàng)建docker-compose.yml
version: ’2.2’services: es01: image: elasticsearch:7.6.2 container_name: es01 environment: - node.name=es01 - cluster.name=es-docker-cluster - discovery.seed_hosts=es02,es03 - cluster.initial_master_nodes=es01,es02,es03 - bootstrap.memory_lock=true - 'ES_JAVA_OPTS=-Xms512m -Xmx512m' ulimits: memlock: soft: -1 hard: -1 volumes: - ./es01/data:/usr/share/elasticsearch/data - ./es01/logs:/usr/share/elasticsearch/logs - ./elasticsearch.yml:/usr/share/elasticsearch/config/elasticsearch.yml - ./elastic-certificates.p12:/usr/share/elasticsearch/config/elastic-certificates.p12 ports: - 9200:9200 networks: - elastic es02: image: elasticsearch:7.6.2 container_name: es02 environment: - node.name=es02 - cluster.name=es-docker-cluster - discovery.seed_hosts=es01,es03 - cluster.initial_master_nodes=es01,es02,es03 - bootstrap.memory_lock=true - 'ES_JAVA_OPTS=-Xms512m -Xmx512m' ulimits: memlock: soft: -1 hard: -1 volumes: - ./es02/data:/usr/share/elasticsearch/data - ./es02/logs:/usr/share/elasticsearch/logs - ./elasticsearch.yml:/usr/share/elasticsearch/config/elasticsearch.yml - ./elastic-certificates.p12:/usr/share/elasticsearch/config/elastic-certificates.p12 ports: - 9201:9200 networks: - elastic es03: image: elasticsearch:7.6.2 container_name: es03 environment: - node.name=es03 - cluster.name=es-docker-cluster - discovery.seed_hosts=es01,es02 - cluster.initial_master_nodes=es01,es02,es03 - bootstrap.memory_lock=true - 'ES_JAVA_OPTS=-Xms512m -Xmx512m' ulimits: memlock: soft: -1 hard: -1 volumes: - ./es03/data:/usr/share/elasticsearch/data - ./es03/logs:/usr/share/elasticsearch/logs - ./elasticsearch.yml:/usr/share/elasticsearch/config/elasticsearch.yml - ./elastic-certificates.p12:/usr/share/elasticsearch/config/elastic-certificates.p12 ports: - 9202:9200 networks: - elastic kib01: depends_on: - es01 image: kibana:7.6.2 container_name: kib01 ports: - 5601:5601 environment: ELASTICSEARCH_URL: http://es01:9200 ELASTICSEARCH_HOSTS: http://es01:9200 volumes: - ./kibana.yml:/usr/share/kibana/config/kibana.yml networks: - elasticnetworks: elastic: driver: bridge
關(guān)于elasticsearch.yml
內(nèi)容如下
network.host: 0.0.0.0xpack.security.enabled: truexpack.security.transport.ssl.enabled: truexpack.security.transport.ssl.keystore.type: PKCS12xpack.security.transport.ssl.verification_mode: certificatexpack.security.transport.ssl.keystore.path: elastic-certificates.p12xpack.security.transport.ssl.truststore.path: elastic-certificates.p12xpack.security.transport.ssl.truststore.type: PKCS12xpack.security.audit.enabled: true network.host 設(shè)置允許其他ip訪(fǎng)問(wèn),解除ip綁定 xpack.security 則是安全相關(guān)配置,其中ssl的證書(shū)需要自己生成
關(guān)于證書(shū)elastic-certificates.p12
es提供了生成證書(shū)的工具elasticsearch-certutil,我們可以在docker實(shí)例中生成它,然后復(fù)制出來(lái),后面統(tǒng)一使用。
首先運(yùn)行es實(shí)例
sudo docker run -dit --name=es elasticsearch:7.6.2 /bin/bash
進(jìn)入實(shí)例內(nèi)部
sudo docker exec -it es /bin/bash
生成ca: elastic-stack-ca.p12
[root@25dee1848942 elasticsearch]# ./bin/elasticsearch-certutil caThis tool assists you in the generation of X.509 certificates and certificatesigning requests for use with SSL/TLS in the Elastic stack.The ’ca’ mode generates a new ’certificate authority’This will create a new X.509 certificate and private key that can be usedto sign certificate when running in ’cert’ mode.Use the ’ca-dn’ option if you wish to configure the ’distinguished name’of the certificate authorityBy default the ’ca’ mode produces a single PKCS#12 output file which holds: * The CA certificate * The CA’s private keyIf you elect to generate PEM format certificates (the -pem option), then the output willbe a zip file containing individual files for the CA certificate and private keyPlease enter the desired output file [elastic-stack-ca.p12]: Enter password for elastic-stack-ca.p12 :
再生成cert: elastic-certificates.p12
[root@25dee1848942 elasticsearch]# ./bin/elasticsearch-certutil cert --ca elastic-stack-ca.p12This tool assists you in the generation of X.509 certificates and certificatesigning requests for use with SSL/TLS in the Elastic stack.The ’cert’ mode generates X.509 certificate and private keys.
這個(gè)生成elastic-certificates.p12 就是我們需要使用的。
復(fù)制出證書(shū), ctrl+d退出容器內(nèi)部
sudo docker cp es:/usr/share/elasticsearch/elastic-certificates.p12 .# 關(guān)閉這個(gè)容器sudo docker kill essudo docker rm es
如此獲取了證書(shū)。
生成密碼
我們首先要啟動(dòng)es集群,去里面生成密碼。
sudo docker-compose up
然后進(jìn)入其中一臺(tái)
sudo docker exec -it es01 /bin/bash
生成密碼用auto, 自己設(shè)置用 interactive
[root@cfeeab4bb0eb elasticsearch]# ./bin/elasticsearch-setup-passwords -hSets the passwords for reserved usersCommands--------auto - Uses randomly generated passwordsinteractive - Uses passwords entered by a userNon-option arguments:command Option Description ------ ----------- -E <KeyValuePair> Configure a setting-h, --help Show help -s, --silent Show minimal output-v, --verbose Show verbose output[root@cfeeab4bb0eb elasticsearch]# ./bin/elasticsearch-setup-passwords autoInitiating the setup of passwords for reserved users elastic,apm_system,kibana,logstash_system,beats_system,remote_monitoring_user.The passwords will be randomly generated and printed to the console.Please confirm that you would like to continue [y/N]yChanged password for user apm_systemPASSWORD apm_system = YxVzeT9B2jEDUjYp66WsChanged password for user kibanaPASSWORD kibana = 8NnThbj0N02iDaTGhidUChanged password for user logstash_systemPASSWORD logstash_system = 9nIDGe7KSV8SQidSk8DjChanged password for user beats_systemPASSWORD beats_system = qeuVaf1VEALpJHfEUOjJChanged password for user remote_monitoring_userPASSWORD remote_monitoring_user = DtZCrCkVTZsinRn3tW3DChanged password for user elasticPASSWORD elastic = q5f2qNfUJQyvZPIz57MZ
使用密碼
瀏覽器訪(fǎng)問(wèn)localhost:9200/9201/9202 需要輸入賬號(hào)
輸入對(duì)應(yīng)的elastic/password就好
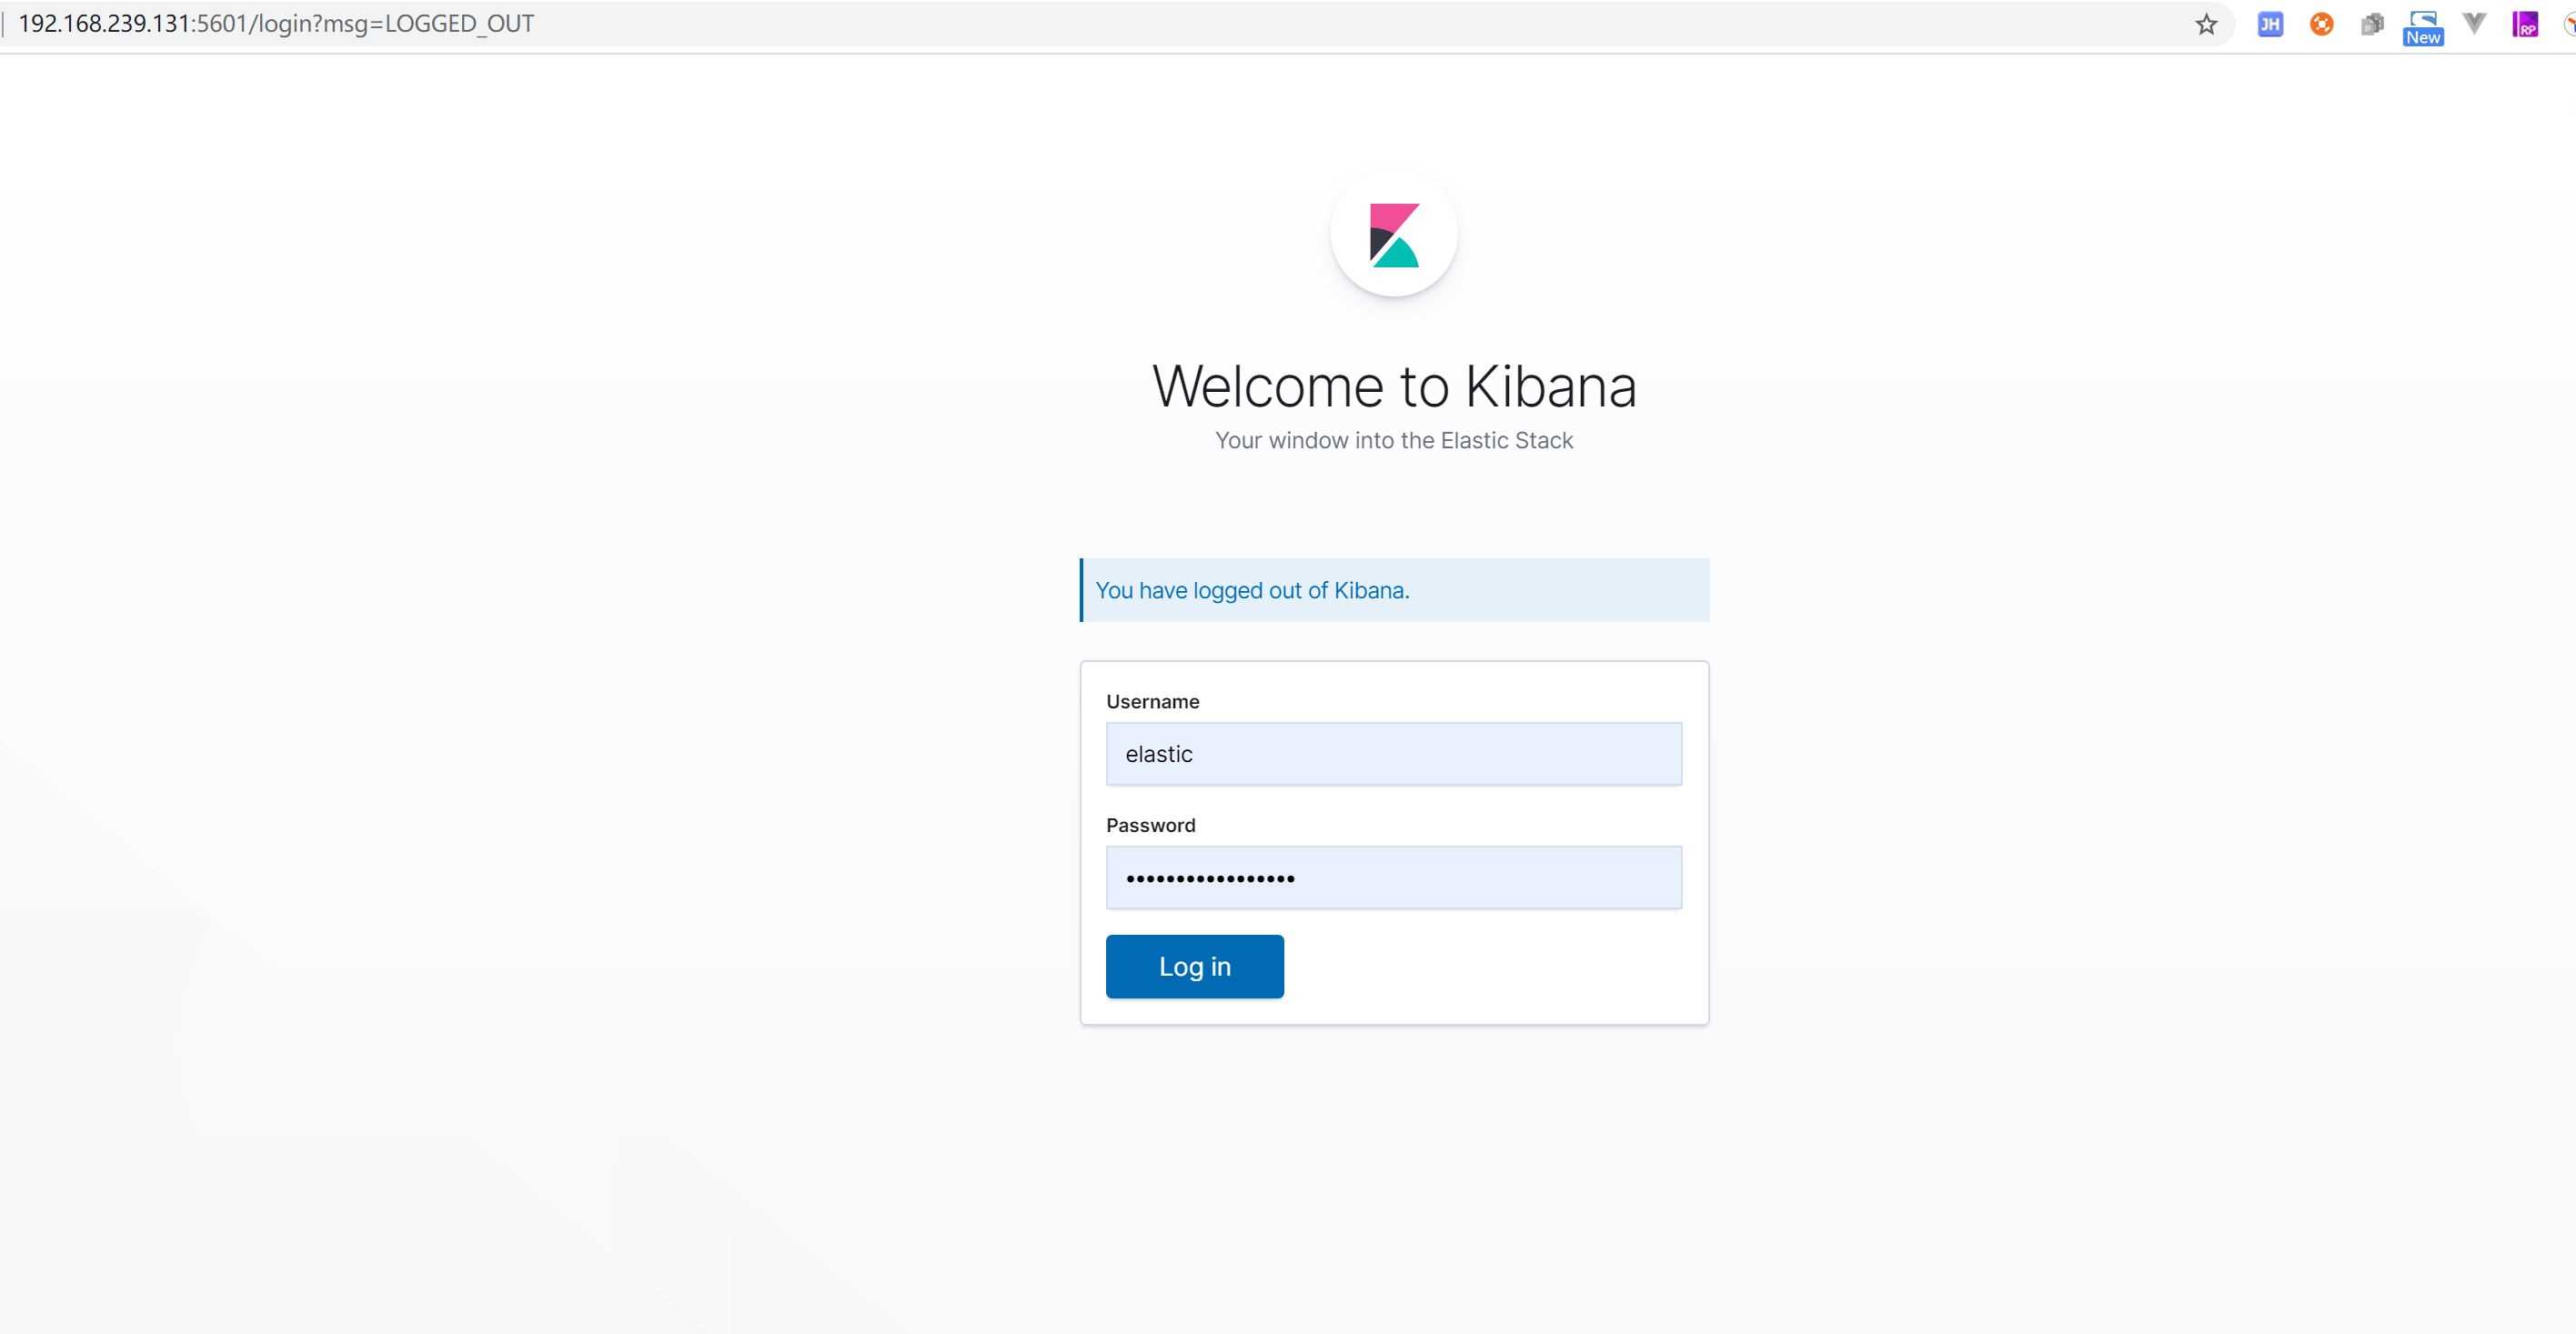
瀏覽器訪(fǎng)問(wèn)localhost:5601
忘記密碼
如果生成后忘記密碼了怎么辦, 可以進(jìn)入機(jī)器去修改。
進(jìn)入es的機(jī)器
sudo docker exec -it es01 /bin/bash
創(chuàng)建一個(gè)臨時(shí)的超級(jí)用戶(hù)RyanMiao
./bin/elasticsearch-users useradd ryan -r superuserEnter new password: ERROR: Invalid password...passwords must be at least [6] characters long[root@cfeeab4bb0eb elasticsearch]# ./bin/elasticsearch-users useradd ryan -r superuserEnter new password: Retype new password:
用這個(gè)用戶(hù)去修改elastic的密碼:
curl -XPUT -u ryan:ryan123 http://localhost:9200/_xpack/security/user/elastic/_password -H 'Content-Type: application/json' -d ’{ 'password': 'q5f2qNfUJQyvZPIz57MZ'}’
參考
http://codingfundas.com/setting-up-elasticsearch-6-8-with-kibana-and-x-pack-security-enabled/index.html
到此這篇關(guān)于docker安裝Elasticsearch7.6集群并設(shè)置密碼的文章就介紹到這了,更多相關(guān)docker安裝Elasticsearch集群內(nèi)容請(qǐng)搜索好吧啦網(wǎng)以前的文章或繼續(xù)瀏覽下面的相關(guān)文章希望大家以后多多支持好吧啦網(wǎng)!
相關(guān)文章:
1. 怎樣才能用js生成xmldom對(duì)象,并且在firefox中也實(shí)現(xiàn)xml數(shù)據(jù)島?2. 基于javaweb+jsp實(shí)現(xiàn)企業(yè)車(chē)輛管理系統(tǒng)3. 利用ajax+php實(shí)現(xiàn)商品價(jià)格計(jì)算4. ASP.Net MVC利用NPOI導(dǎo)入導(dǎo)出Excel的示例代碼5. jstl 字符串處理函數(shù)6. JSP動(dòng)態(tài)網(wǎng)頁(yè)開(kāi)發(fā)原理詳解7. python實(shí)現(xiàn)布爾型盲注的示例代碼8. 帶你了解CSS基礎(chǔ)知識(shí),樣式9. asp與php中定時(shí)生成頁(yè)面的思路與代碼10. React實(shí)現(xiàn)一個(gè)倒計(jì)時(shí)hook組件實(shí)戰(zhàn)示例
 網(wǎng)公網(wǎng)安備