Android Studio 創建自定義控件的方法
我們知道,當系統控件并不能滿足我們的需求時,我們就需要來創建自定義控件,主要有兩種方法
(1)引入布局
下面來自定義一個控件,iPhone的標題欄,創建一個標題欄并不是什么難事,加入兩個button一個TextView就行了,可是在我們的應用中,有很多頁面都是需要這樣的標題欄,我們不可能每個活動都寫一遍布局,這個時候我們就可以用引用布局的方法,新建一個title.xml
<?xml version='1.0' encoding='utf-8'?><LinearLayout xmlns:android='http://schemas.android.com/apk/res/android' android:layout_width='match_parent' android:layout_height='wrap_content' android:background='#817D7D' > <Button android: android:layout_width='wrap_content' android:layout_height='wrap_content' android:layout_gravity='center' android:layout_margin='5dp' android:text='back' android:textColor='#fff'/> <TextView android: android:layout_width='0dp' android:layout_height='wrap_content' android:layout_gravity='center' android:layout_weight='1' android:gravity='center' android:textColor='#c0c0c0' android:textSize='24sp' android:text='title text' /> <Button android: android:layout_width='wrap_content' android:layout_height='wrap_content' android:layout_gravity='center' android:layout_margin='5dp' android:textColor='#fff' android:text='edit' /></LinearLayout>
現在標題欄已經寫好了,接下來就要在程序中使用,修改activity_main.xml
<?xml version='1.0' encoding='utf-8'?><LinearLayout xmlns:android='http://schemas.android.com/apk/res/android' android:layout_width='match_parent' android:layout_height='match_parent' > <include layout='@layout/title'/></LinearLayout>
我們只要通過一句include語句引進來就行了
<include layout='@layout/title'/>
最后我們需要在MainActivity中將系統自帶的標題欄屏蔽
package com.example.ch03;import android.drm.DrmStore;import android.support.v7.app.ActionBar;import android.support.v7.app.AppCompatActivity;import android.os.Bundle;public class MainActivity extends AppCompatActivity { @Override protected void onCreate(Bundle savedInstanceState) { super.onCreate(savedInstanceState); setContentView(R.layout.activity_main); //屏蔽系統自帶狀態欄 ActionBar actionBar = getSupportActionBar(); if(actionBar != null){ actionBar.hide(); } }}
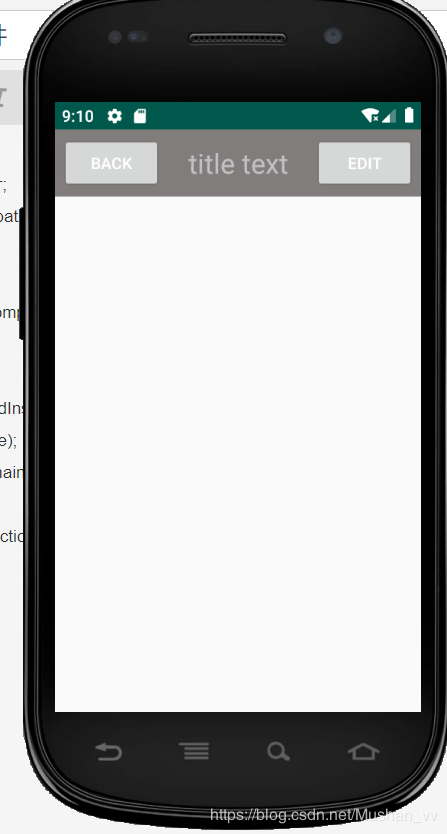
最后來看一下效果
(2)注冊點擊事件
在上面我們看到,每個界面的返回按鈕功能都是一樣的,即銷毀當前活動,我們不可能在每個活動中都重新注冊,所以使用自定義控件的方式來解決新建TitleLayout,成為標題欄控件
public class TitleLayout extends LinearLayout {public TitleLayout(Context context, AttributeSet attrs){ super(context,attrs); LayoutInflater.from(context).inflate(R.layout.title,this);
我們重寫了LinearLayout中帶參數的構造函數,引入TitleLayout控件就會調用這個構造函數,然后對標題欄進行動態加載,就需要借助LayoutInflater實現。通過LayoutInflater的from方法構建一個LayoutInflater對象,調用inflate()方法動態加載一個布局文件
然后在布局文件中添加自定義控件,修改activity_main.xml
<?xml version='1.0' encoding='utf-8'?><LinearLayout xmlns:android='http://schemas.android.com/apk/res/android' android:layout_width='match_parent' android:layout_height='match_parent' ><com.example.ch03.TitleLayout android:layout_width='match_parent' android:layout_height='wrap_content'/></LinearLayout>
重新運行一下,效果是一樣的
下面來給按鈕注冊點擊事件,修改TitleLayout中的代碼
package com.example.ch03;import android.app.Activity;import android.content.Context;import android.util.AttributeSet;import android.view.LayoutInflater;import android.view.View;import android.widget.Button;import android.widget.LinearLayout;import android.widget.Toast;public class TitleLayout extends LinearLayout {public TitleLayout(Context context, AttributeSet attrs){ super(context,attrs); LayoutInflater.from(context).inflate(R.layout.title,this); Button titleBack = findViewById(R.id.title_back); Button titleEdit = findViewById(R.id.title_edit); titleBack.setOnClickListener(new OnClickListener() { @Override public void onClick(View v) { ((Activity) getContext()).finish(); } }); titleEdit.setOnClickListener(new OnClickListener() { @Override public void onClick(View v) { Toast.makeText(getContext(),'You click edit button', Toast.LENGTH_LONG).show(); } });}}
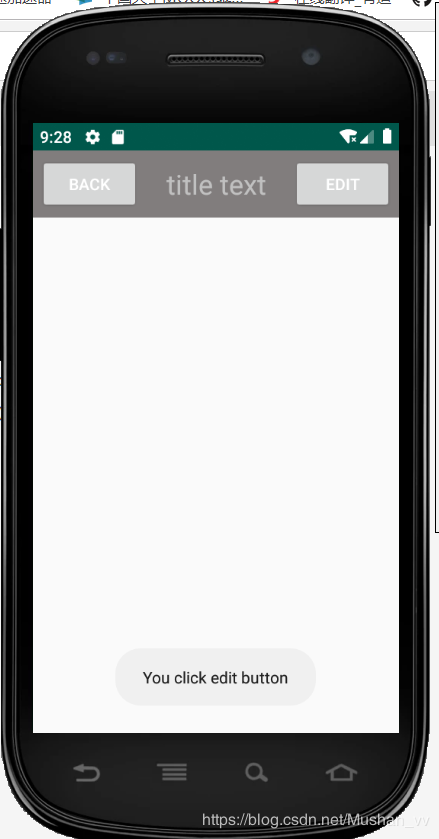
重新運行一下,然后點擊edit按鈕
到此這篇關于Android Studio 創建自定義控件的方法的文章就介紹到這了,更多相關Android Studio自定義控件內容請搜索好吧啦網以前的文章或繼續瀏覽下面的相關文章希望大家以后多多支持好吧啦網!
相關文章:

 網公網安備
網公網安備